

If you’ve subscribed to InMotion Hosting Professional Email, your domain’s DNS records are typically configured automatically. However, if the MX and SPF records were not added or you need to verify and set them manually, this guide will walk you through the steps.
⚠️ Important: Incorrect or duplicate DNS records can cause email delivery issues. Ensure that only the correct MX and SPF records for Professional Email are present.
Prerequisites
- Access to your domain’s DNS zone via AMP or cPanel
- A current Professional Email subscription with InMotion Hosting
- Your domain is pointed to InMotion Hosting name servers (if DNS is managed here)
Step 1: Determine Where to Edit DNS Records
If Your Domain is Hosted on an InMotion Hosting cPanel Server
- Log in to your Account Management Panel (AMP).
- Under your Professional Email subscription, click DNS Zone Editor.

- You will be redirected to the cPanel Zone Editor. Click Manage next to your domain.
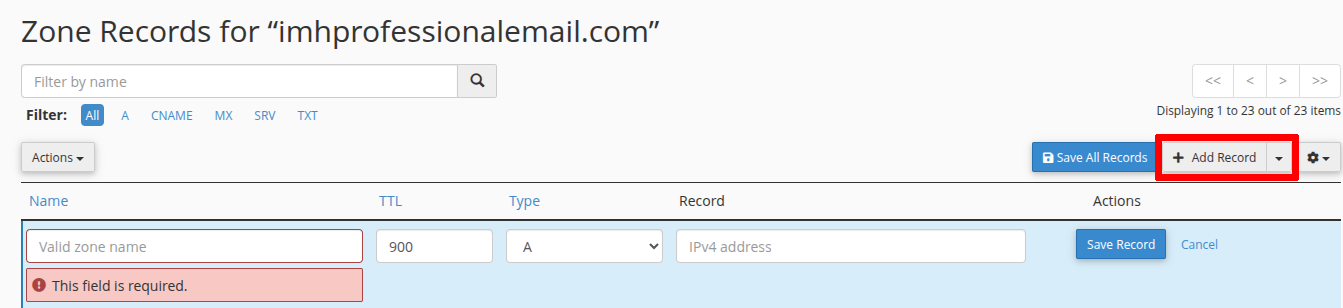
- Click + Add Record to begin adding the necessary entries.

If Your Domain is Used Only for Professional Email (No Web Hosting)
- From your AMP home page, click DNS Zone Editor under the Professional Email section.
- Scroll to Zone File Records to verify if the correct MX and SPF records already exist.
- If they’re missing, navigate to Add Record on the page and proceed to the next section to add them manually.


Step 2: Add Required DNS Records
Add the following records using the Add Record (in cPanel) or Submit Record (in AMP) button in the Zone Editor.
MX Records
Add both of the following MX records:
MX Record 1
- Type: MX
- Name / Valid Zone Name:
yourdomain.comoryourdomain.com.(use trailing dot if required) - Destination:
mx1.titan.email - Priority: 10
- TTL: 14400
MX Record 2
- Type: MX
- Name / Valid Zone Name:
yourdomain.comoryourdomain.com. - Destination:
mx2.titan.email - Priority: 20
- TTL: 14400
SPF (TXT) Record
- Type: TXT
- Name / Valid Zone Name:
yourdomain.comoryourdomain.com. - Text:
v=spf1 include:spf.titan.email ~all - TTL: 14400
Remove any existing MX or SPF records to prevent conflicts. Conflicting entries can cause email delivery failures and authentication issues.
Step 3: Verify DNS Changes
After saving the records:
- Use a tool like MXToolbox to verify the MX and SPF records.
- DNS propagation may take up to 6–8 hours, during which email delivery may be inconsistent.
Conclusion
Once your MX and SPF records are correctly configured and propagation is complete, your Professional Email service will begin routing messages through Titan’s secure mail servers. If issues persist after propagation, verify your DNS settings and consider contacting InMotion Hosting Support.

Leave a Reply